You just bought a 2023 ride and now your buddy’s 2026 model is streaming Apple CarPlay video, getting over the air updates while he sleeps, and running apps you didn’t even know existed. Makes your screen feel like a flip phone, right?
Here’s the good news: you don’t need to trade in a perfectly good car just to keep up with car tech upgrades 2026 is throwing at us. In this guide, I’ll show you how to future-proof your vehicle the smart way — without frying modules, voiding warranties, or handing the dealer $2,000 for stuff you can handle yourself.
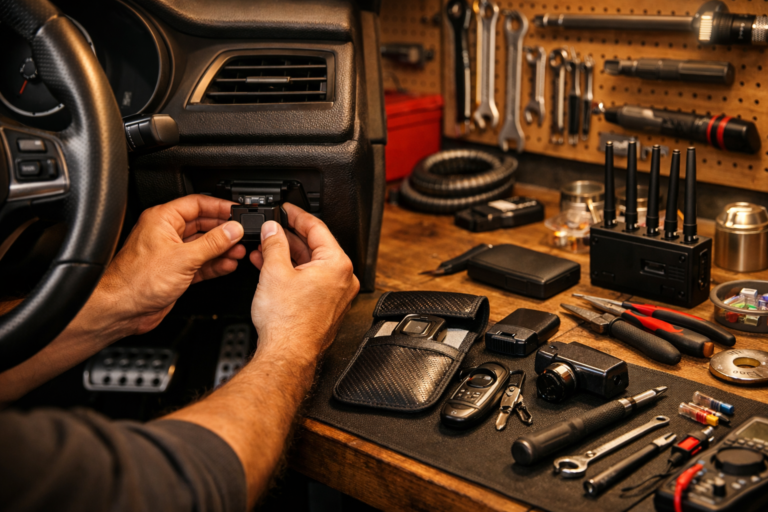
I’ve installed everything from factory infotainment units in Hondas to full Android-based head units in Tacomas. Some upgrades are worth every penny. Others? Straight-up dealership profit padding. Let’s sort it out.
What You’ll Need
- Tools: Plastic trim removal kit, 10mm socket (not a wrench — trust me), ratchet, Phillips screwdriver, multimeter, panel clip pliers
- Parts/Materials: CarPlay/Android Auto head unit ($300–$800), vehicle-specific dash kit ($40–$120), wiring harness adapter ($20–$80), wireless CarPlay adapter ($60–$150)
- Time: 1–2 hours first time, 45 minutes if you’ve done one before
- Difficulty: 🔧🔧🔧 (3/5)
- Dealer Cost: $1,500–$2,500 vs DIY Cost: $450–$900 — You Save: $1,000+
Why This Matters
Infotainment isn’t just about cool screens anymore. Over the air updates now fix bugs, improve backup camera response, patch security flaws, and even add features. Skip them, and your car becomes the tech equivalent of Windows XP.
Newer systems supporting Apple CarPlay video are rolling out in 2025 and 2026 models, letting passengers stream content safely while parked. That’s huge for road trips. But older systems? Locked out unless you upgrade.
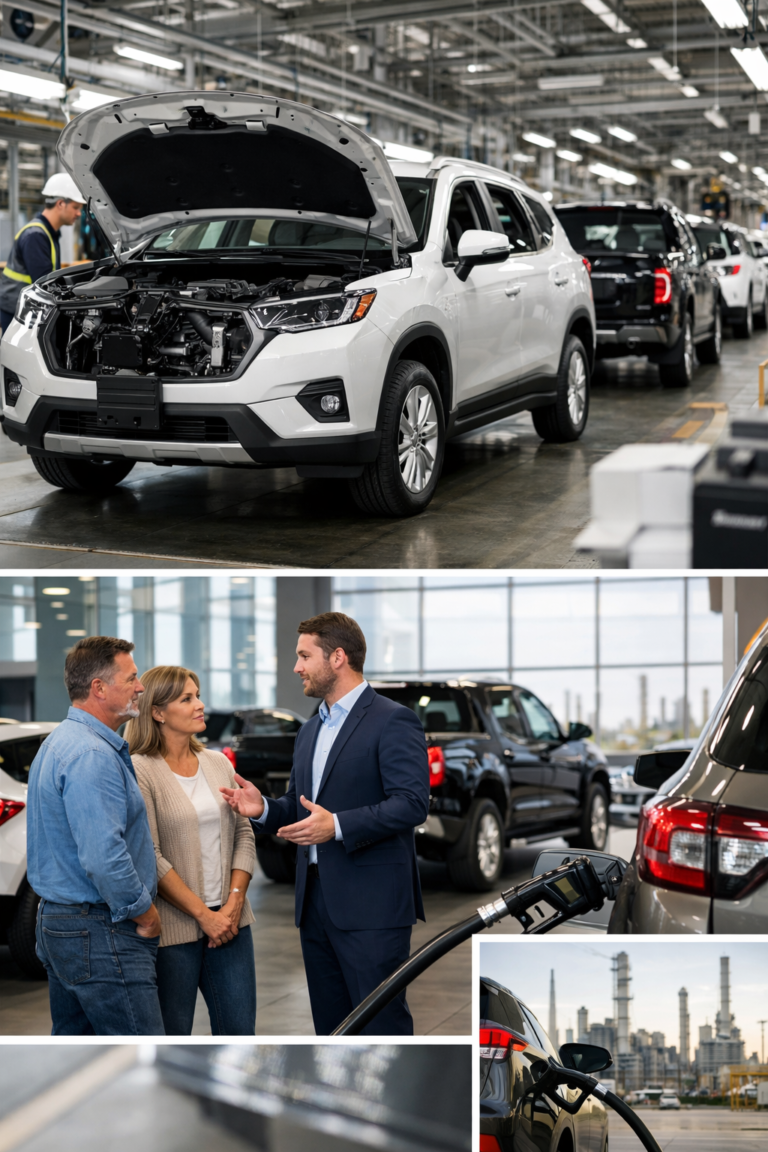
Tech also affects resale. Buyers shopping a 2022–2024 vehicle now expect wireless CarPlay and OTA capability. A $600 upgrade today can mean $1,500 more on trade-in later. I’ve seen it at auction.
If you drive electric or hybrid, OTA updates are even more critical. We’re seeing powertrain and battery management tweaks delivered remotely. That’s why staying current matters — especially with changing regulations like those covered in EPA Emissions Repeal: What 2026 Buyers Need.
Before You Start
⚠️ WARNING: Disconnect the negative battery terminal with a 10mm socket before touching any infotainment wiring. Airbags, CAN bus systems, and modules don’t forgive mistakes.
Park on a flat surface, parking brake on, key out of ignition. Let the vehicle fully power down (some newer Toyotas and Fords stay “awake” for 5–10 minutes).
Don’t DIY if:
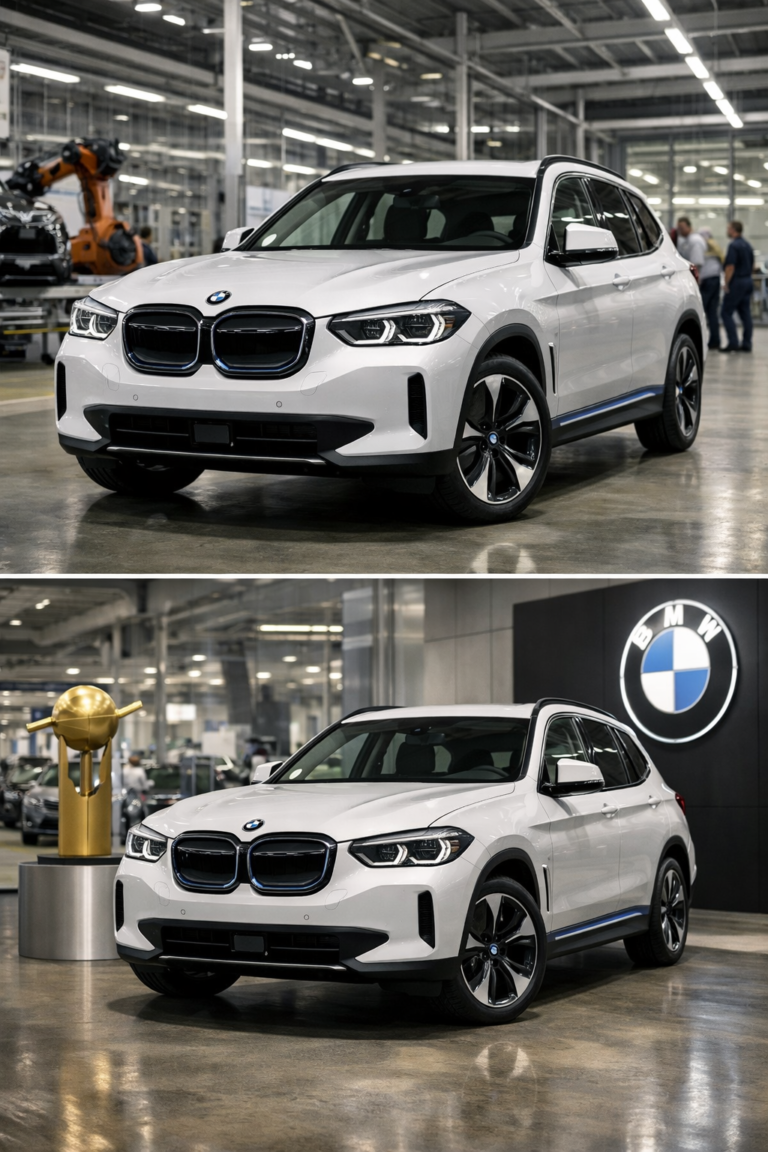
- Your vehicle has factory fiber-optic audio (common in BMW, Audi)
- There are active electrical issues or parasitic battery drains
- You see airbag warning lights already on
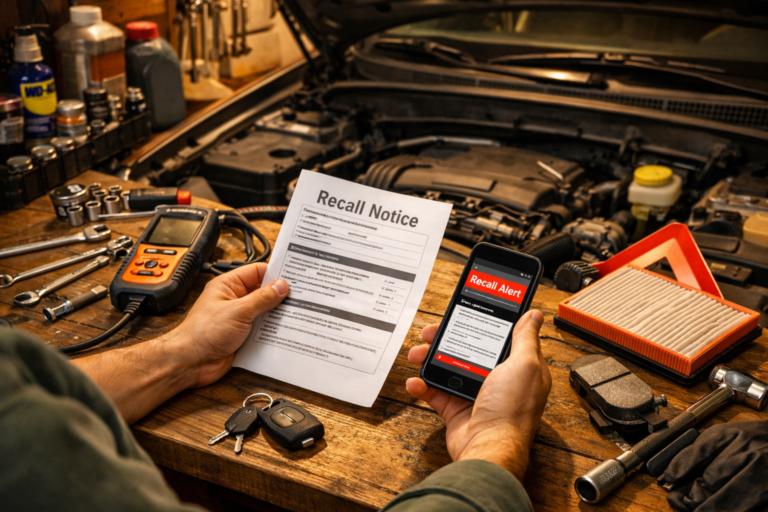
Before modifying anything, check NHTSA.gov for recalls and your manufacturer’s software updates page. Many brands (Ford, GM, Toyota) now offer official over the air updates that may solve issues without hardware swaps.
Step-by-Step Guide
-
Verify Your Current Capability
Go into Settings → System → Software Info. Check for OTA update options. If your car already supports over the air updates but they’re disabled, enable Wi-Fi and connect to home internet first.
Pro Tip: Park within 20 feet of your router during updates. Weak signal bricks modules. -
Choose the Right Head Unit
Look for units supporting wireless CarPlay, Android Auto, and firmware updates via USB or Wi-Fi. Brands I trust: Pioneer, Kenwood, Alpine. Avoid no-name Amazon specials under $200 — I’ve replaced dozens. -
Disconnect the Battery
Use a 10mm socket and ratchet. Negative terminal first. Tuck it aside so it can’t spring back. -
Remove Trim Panels
Use plastic trim tools — not a screwdriver unless you enjoy scratches. Work slowly. Most panels pop out with firm pressure.
[Photo: Trim panel removal around 2022 Honda Accord infotainment screen] -
Unbolt Factory Head Unit
Usually four 8mm or 10mm bolts. Keep them organized. Disconnect harnesses carefully — don’t yank. -
Install Wiring Harness Adapter
Match colors if required, or plug-and-play if pre-wired. Never cut factory wiring unless absolutely necessary.
Pro Tip: Solder and heat-shrink beats crimp connectors every time. -
Test Before Reassembly
Reconnect battery temporarily. Confirm power, steering wheel controls, backup camera, and CarPlay connectivity. Then disconnect again before final assembly. -
Reassemble and Secure
Torque mounting bolts snug — consult your owner’s manual for specs. Reinstall trim evenly.
Now you’ve got a system capable of firmware updates and, depending on the unit, Apple CarPlay video for parked streaming. That’s dealership-level tech without dealership-level robbery.
Common Mistakes to Avoid
- Skipping the battery disconnect. I’ve seen blown fuses, fried BCM modules, even airbag faults.
- Buying the wrong dash kit. Every trim level matters. A 2024 Tacoma SR isn’t wired like a TRD Pro.
- Cheap head units. They lag, overheat, and stop receiving updates in a year.
- Ignoring physical controls. Some regions are pushing back toward buttons for safety — see EU & China Push for Physical Buttons in Cars. Don’t bury essential functions in touchscreen menus.
- Blocking cooling vents behind the screen. Overheating kills electronics fast.
When to Call a Professional
If your vehicle integrates climate controls, seat settings, or drive modes into the screen (looking at you, newer BMW and Mercedes), professional coding may be required.
Fair install price? $300–$600 labor. If someone quotes $1,200 just for installation, walk away.
Ask:
- Will steering wheel controls still work?
- Will factory backup camera retain resolution?
- Does this void any warranty coverage?
Red flag: “We have to cut factory wiring.” Nope. Harness adapters exist for almost everything.
Recommended Products
- Budget: Pioneer DMH-W2770NEX (~$400) — solid wireless CarPlay, updateable firmware.
- Mid-Range: Kenwood Excelon DMX809S (~$600) — better sound processing.
- Premium: Alpine iLX-F509 Halo9 (~$900) — gorgeous display, frequent updates.
- Wireless Adapter: Carlinkit 5.0 (~$100) for factory wired CarPlay systems.
What I use in my own garage? Kenwood Excelon. Reliable, easy updates, zero comebacks.
Do This
- Disconnect battery every time
- Use vehicle-specific harness adapters
- Update firmware twice a year
- Check ASE-certified installers if outsourcing
Don’t Do This
- Don’t cut factory wiring unless unavoidable
- Don’t cheap out on head units
- Don’t stream video while driving
- Don’t ignore official manufacturer OTA notices
Future-proofing your ride isn’t about chasing every shiny feature. It’s about smart upgrades that support Apple CarPlay video, reliable over the air updates, and real-world usability — without getting buried in dealer markups.
You can do this. Take your time, label your screws, and don’t rush the wiring. The first install might take two hours. The second one? You’ll knock it out before lunch.
Got questions about your specific make and model? Drop them in the comments. Stay safe under there, and remember — a $20 repair manual saves a $2,000 repair bill.