You’ve got a perfectly good SUV sitting in the driveway, and you’re pricing rooftop tents and camper vans like you just won the lottery. Don’t. A smart SUV camper conversion can turn your daily driver into a weekend adventure rig without draining your kid’s college fund.
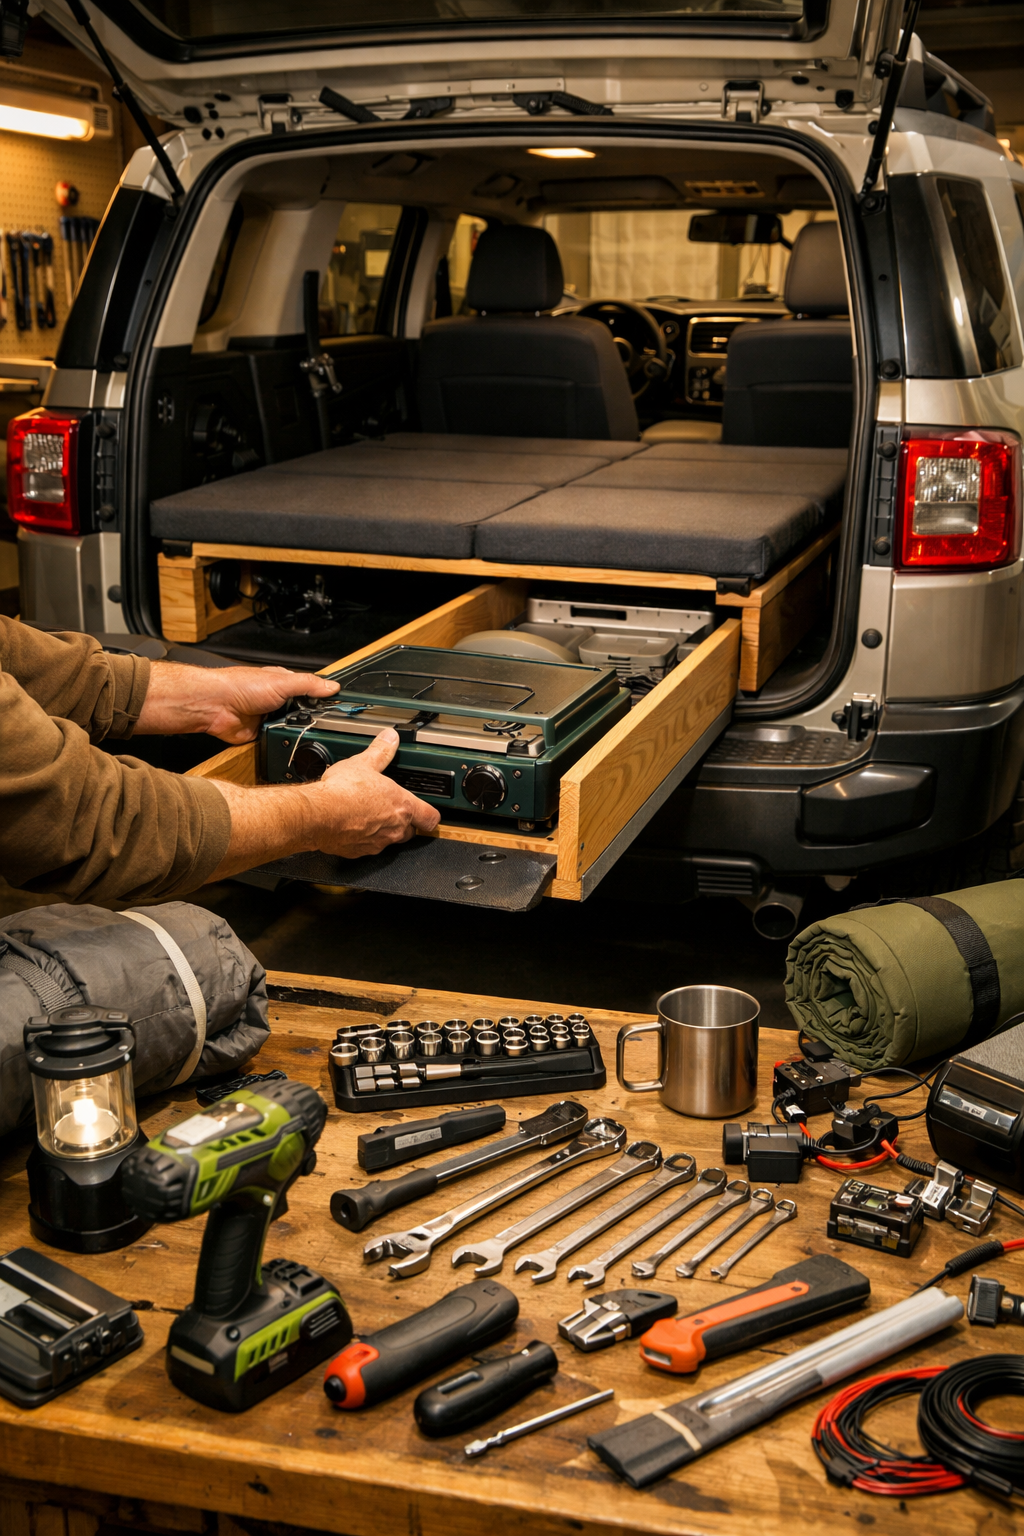
Toyota’s old FJ Cruiser concept builds nailed this idea — rugged, modular, and simple. Nothing crazy permanent. Just smart storage, flat sleeping space, and gear you can pull out Monday morning. That’s what we’re building here: a practical, safe setup you can install in a weekend and remove in an hour.
In this guide, I’ll walk you through building a DIY car camping platform, adding basic power, organizing gear like an overland setup guide would suggest, and avoiding the expensive mistakes I’ve seen folks make in my shop for 20 years.
What You’ll Need
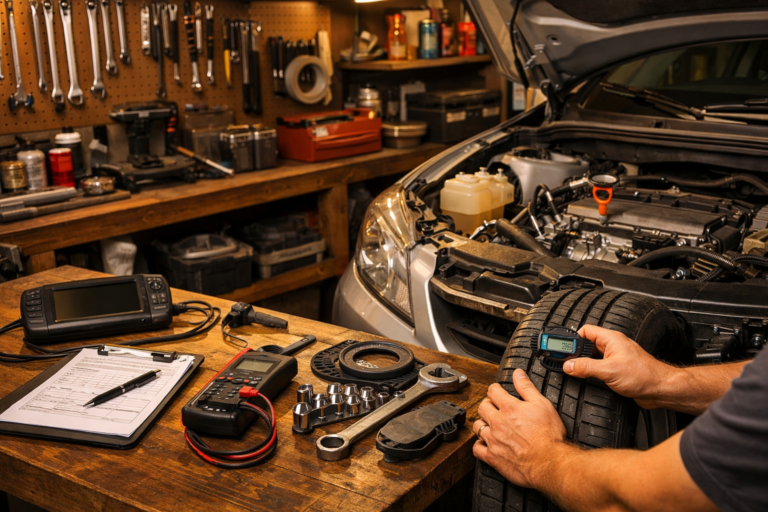
- Tools: 10mm and 12mm socket set, ratchet (not a wrench), trim removal tool, cordless drill, 3/8″ drill bits, circular saw or jigsaw, tape measure, torque wrench (consult your owner’s manual for specs)
- Parts/Materials: 3/4″ plywood sheet ($65–$90), 2×4 lumber ($25), wood screws ($10), indoor/outdoor carpet ($30), foam mattress or camping pad ($100–$250), 100Ah portable power station ($500–$900), cargo tie-down straps ($25)
- Time: 4–6 hours first build, 2–3 hours if you’ve done basic carpentry
- Difficulty: 🔧🔧🔧 (3/5)
- Dealer Cost: $2,500–$6,000 “overland package” vs DIY Cost: $800–$1,400 — You Save: $1,700–$4,500
Why This Matters (SUV Camper Conversion Basics)
A sloppy build rattles, shifts in a crash, or worse — turns into a wooden missile if you slam on the brakes. I’ve seen unsecured cargo punch through rear seats after accidents. Not pretty.
Done right, your SUV camper conversion gives you freedom: national parks, beach weekends, ski trips. Done wrong, it costs you fuel economy, resale value, and safety.
If you camp 4–6 times a year, this setup pays for itself in one season versus hotels. And because nothing is permanently modified, you keep resale strong — which matters if you’re eyeing something newer like we discuss in How to Buy or Sell Car 2026: Smart Tips.
Before You Start
⚠️ WARNING: Any platform must be securely mounted using factory tie-down points. Do NOT drill into the fuel tank area or through the floor without checking what’s underneath.
Park on flat ground. Set the parking brake. Disconnect the negative battery terminal if you’re installing auxiliary wiring (10mm socket on most Toyotas and Hondas).
Check for recalls before modifying anything. You can verify at NHTSA.gov. If you drive a Toyota SUV, it’s worth reviewing recall status fast here before adding weight or electrical accessories.
Don’t DIY this if your SUV has severe rust underneath, damaged seat mounts, or electrical gremlins. Fix those first.
Step-by-Step Guide
-
Remove Rear Seats (If Needed)
Use a 12mm or 14mm socket (varies by model — consult your manual). Bag and label bolts. Torque specs vary — check your owner’s manual or manufacturer site.
Pro Tip: Leave seat belts installed unless you’re 100% sure about legal removal in your state. -
Measure Twice, Cut Once
Measure wheel well width and length from hatch to front seats folded flat. Most midsize SUVs (Highlander, 4Runner, Explorer) give 68–75 inches of usable length. -
Build the Platform Frame
Use 2x4s to build a simple rectangular base. Keep height under 12 inches to preserve headroom. Secure with 3″ wood screws.
Think of it like building a bed frame — strong corners matter. -
Attach Plywood Deck
3/4″ plywood prevents flex. Secure to frame every 8–10 inches. Sand edges so you don’t shred your sleeping pad. -
Secure to Factory Tie-Downs
Use cargo eye bolts and ratchet straps rated at least 1,000 lbs. Do NOT rely on friction alone.
Pro Tip: In 20 years of wrenching, I’ve seen more damage from loose cargo than engine failures. -
Add Power (Optional)
Use a portable power station instead of hardwiring at first. A 100Ah unit runs a fridge (40–60 watts average draw) for 24–36 hours. No alternator upgrades needed. -
Ventilation & Window Covers
Crack windows slightly and use vent inserts. Reflectix insulation ($25 roll) cut to window shape keeps heat out and privacy in.
This basic SUV camper conversion works on everything from a Subaru Outback to a 2026 BMW X5 — though if you’re camping in something like the beast in our 2026 BMW X5 M Competition review, expect premium fuel bills on the trail.
Common Mistakes to Avoid
- Building too tall. I’ve seen platforms 16 inches high. You’ll feel like you’re sleeping in a coffin. Keep it low.
- Ignoring weight limits. Check your GVWR on the door sticker. Extra 300–500 lbs affects braking and MPG.
- Hardwiring cheap inverters. I’ve repaired melted wiring from $40 Amazon specials. Use fused connections only.
- Skipping ventilation. Condensation turns your SUV into a rainforest overnight.
- Permanent mods. Drilling visible panels tanks resale value.
When to Call a Professional
If you’re installing dual batteries, roof racks requiring drilling, or suspension upgrades — get help. A shop will charge $300–$800 for professional auxiliary battery installs. Fair suspension lift installs run $600–$1,200 labor.
Ask: “Are you using factory mounting points?” and “Will this affect warranty?” Red flag if they can’t answer clearly.
Electrical safety matters. ASE-certified techs (verify at ASE.com) know how to fuse circuits properly.
Recommended Products
- Budget Power: Jackery 1000 v2 ($799) — reliable starter unit.
- Premium Power: EcoFlow Delta 2 Max ($1,299) — what I use in my own garage.
- Mattress: Milliard Tri-Fold 6″ foam ($189) — fits most midsize SUVs.
- Fridge: Dometic CFX3 45 ($899) — expensive but bulletproof.
- Navigation: Plan routes with Google Maps AI road trip tools before heading off-grid.
Do This
- Secure platform to factory tie-down points
- Keep build modular and removable
- Monitor total added weight
- Test sleep setup one night in driveway first
Don’t Do This
- Drill blindly into the vehicle floor
- Overload roof beyond rated capacity
- Run power wires without fuses
- Ignore recall or safety issues first
A smart SUV camper conversion isn’t about bolting on every overland accessory in the catalog. It’s about simple, secure, and removable. Toyota’s FJ camper builds worked because they respected the vehicle’s limits — and your build should too.
You can absolutely do this in a weekend. Take your time, measure twice, and don’t cheap out on safety gear. Drop your SUV model in the comments if you want platform dimension tips.
Stay safe under there, and remember — a $20 repair manual saves a $2,000 repair bill.