You finally dragged that dream project into the garage — maybe it’s a GC8 Subaru, an old Datsun Z, or a first-gen Civic Si — and now you’re staring at faded paint, cracked trim, and parts that haven’t been made since flip phones were cool. That’s where classic car restoration meets reality. The biggest hurdle isn’t turning wrenches — it’s finding the right parts without getting ripped off.
If you’ve heard about a heritage parts program and wondered whether it’s worth it, you’re in the right place. I’ve helped customers restore everything from air-cooled Toyotas to Subaru WRX STI parts builds, and I’ll show you how to start smart, avoid money pits, and actually finish the project. Because nothing’s sadder than a half-built classic gathering dust.
What You’ll Need
- Tools: 3/8″ ratchet set (metric and SAE), torque wrench, trim removal tools (plastic, not a screwdriver), floor jack (3-ton) and jack stands, multimeter
- Parts/Materials: OEM heritage parts ($50–$800 per item), replacement clips ($10–$25), service manual ($20–$60), penetrating oil ($8)
- Time: Planning phase 5–10 hours; first repair weekend 6–12 hours
- Difficulty: 🔧🔧🔧 (3/5 — moderate, more patience than skill)
- Dealer Cost: Full restoration coordination $5,000–$15,000 vs DIY sourcing & labor $1,500–$6,000 — You Save: $3,500+
Why This Matters
In any classic car restoration, the wrong part can cost you twice. I’ve seen guys buy cheap aftermarket suspension arms that didn’t fit, then pay again for correct OEM pieces. That’s money straight out the tailpipe.
Heritage parts programs — like Nissan’s NISMO Heritage or Subaru’s reissued Subaru WRX STI parts — exist to keep restoring vintage cars accurate and safe. We’re talking factory-spec brake components, weatherstripping that actually seals, and engine internals built to original tolerances.
Skip this step and you risk safety issues, poor fitment, and killing resale value. Do it right, and your car drives like it did in 1999 — not like a Craigslist science experiment. Check for open recalls before you start at NHTSA.gov. Even classics can have unresolved safety campaigns.
Before You Start
⚠️ WARNING: If you’re lifting the vehicle, always use jack stands on a flat concrete surface. Never rely on a hydraulic jack alone. I’ve seen cars slip. It’s not pretty.
Order a factory service manual first. Not YouTube. Not a forum screenshot. The real book. Subaru, Toyota, and Honda still offer PDFs through official channels — check manufacturer heritage pages or dealer parts counters.
If your project involves structural rust (frame rails, strut towers) or airbag systems, that’s pro-level territory. Also, if you’re dealing with modern ECU swaps or software updates, read up on vehicle connectivity and data protection before plugging in mystery modules.
And one more thing — budget realistically. Parts prices fluctuate with global supply issues. We’ve seen it before during events like the Iran conflict auto industry price spikes. Expect a 10–20% cushion in your budget.
Step-by-Step Guide
-
Define Your End Goal
Driver? Show car? OEM-plus build? Write it down. A factory-correct 2004 STI restoration is different from a track build. Pro Tip: The closer to stock you stay, the easier sourcing becomes through heritage parts programs. -
Inventory What You Have
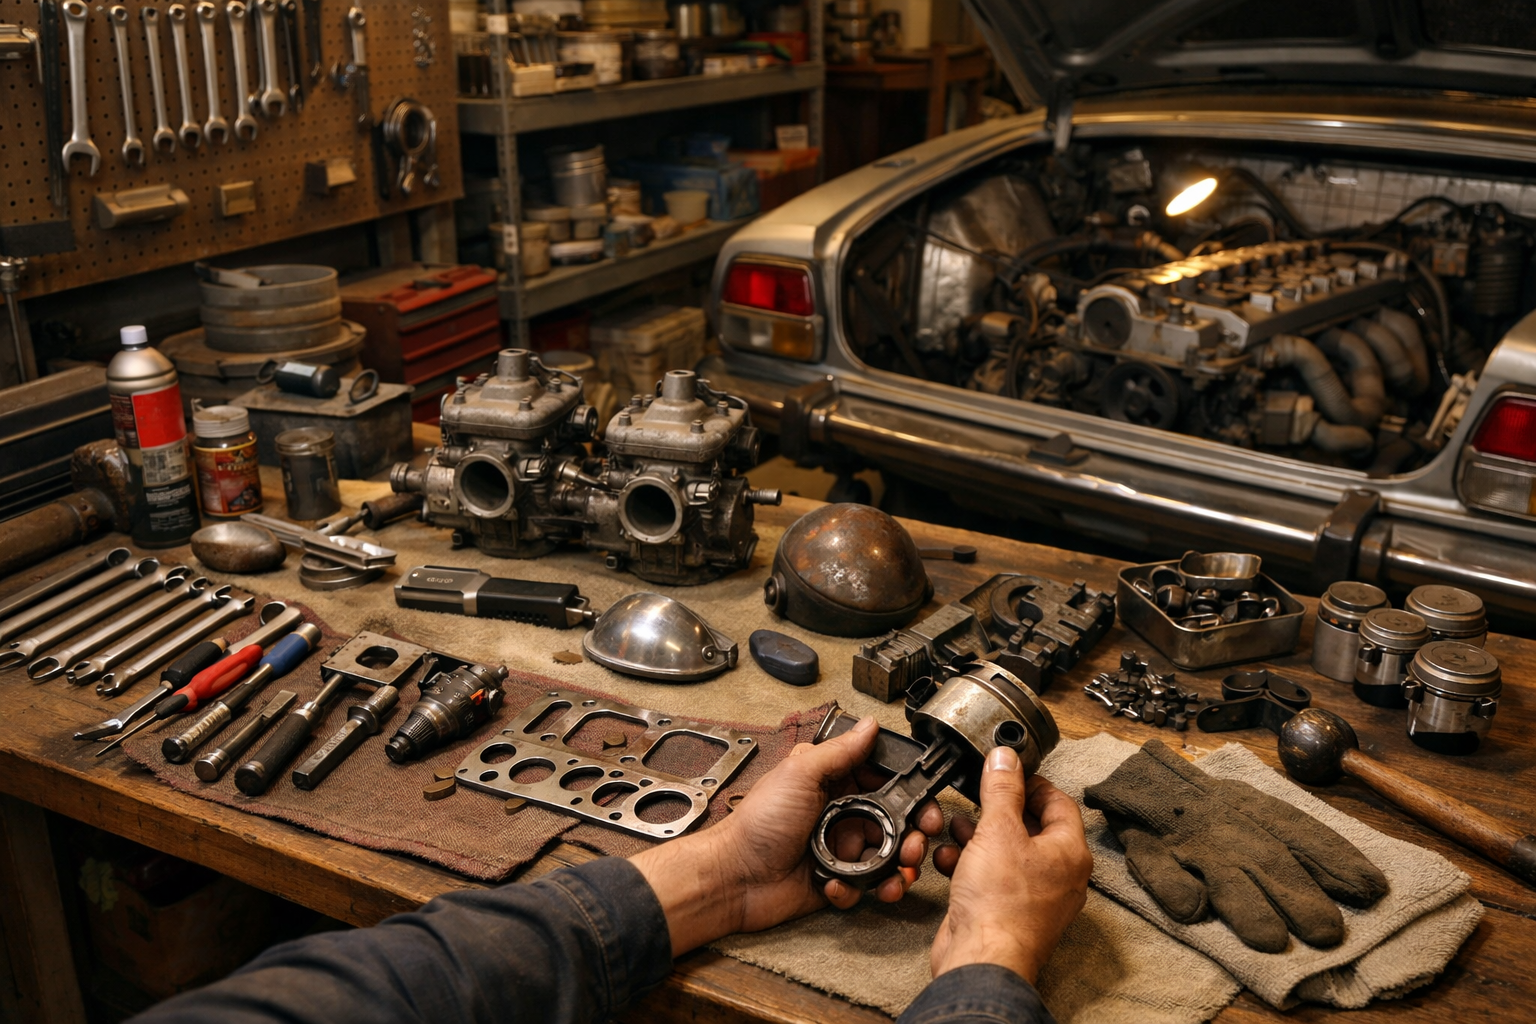
Inspect suspension bushings, brake lines, wiring harnesses, and weather seals. Use a flashlight and a pick tool to test rubber components. Cracks mean replacement time. -
Research Heritage Parts Availability
Check manufacturer heritage divisions (Nissan, Toyota Gazoo Racing, Subaru Japan). Subaru WRX STI parts reissues often include gaskets, trim pieces, and drivetrain components. Expect OEM pricing — $120 for a gasket set that used to be $45. -
Prioritize Safety Systems First
Brakes, fuel system, cooling system. In 20 years of wrenching, I’ve seen more engines destroyed by neglected cooling systems than aggressive driving. Replace old rubber fuel lines ($40–$120 total) before you even think about tuning. -
Order in Batches
Shipping adds up. Combine orders. Dealers may charge $150 per labor hour, but parts counters often match online pricing if you ask. Don’t be shy. -
Install Carefully and Torque to Spec
Use a 3/8″ torque wrench for most interior and engine bay fasteners. Suspension may require a 1/2″ drive torque wrench. Always consult your owner’s manual or factory manual for specs. Pro Tip: Anti-seize on exhaust bolts saves future-you hours of swearing. -
Document Everything
Keep receipts and take photos. When it’s time to sell or insure, documentation can add thousands to value. If you ever trade it, strong records boost offers — same principle as I explain in maximizing your used car value.
Common Mistakes to Avoid
- Buying cheap aftermarket body panels. I’ve seen this in the shop a hundred times. Gaps never line up, and paint correction costs more than OEM panels.
- Ignoring rubber components. Restoring vintage cars means every 20-year-old hose is suspect. One $15 coolant hose can save a $2,000 engine rebuild.
- Over-restoring. Not every bolt needs powder coating. Focus on safety and drivability first.
- Skipping electrical inspection. Brittle wiring causes gremlins that’ll haunt you for months.
- Blowing the budget on cosmetics first. Paint doesn’t matter if the brake master cylinder fails.
When to Call a Professional
If your project involves frame straightening, airbag modules, or complex tuning, call a pro. Fair labor rates in 2025 run $120–$180 per hour depending on region.
Ask the shop:
- Have you worked on this specific model before?
- Will you use OEM or heritage parts?
- Can I see torque specs and documentation?
Red flags? Vague pricing, refusal to itemize parts, or pushing unnecessary upgrades. That’s how $3,000 jobs turn into $7,000 nightmares.
Recommended Products
- Factory Service Manual (OEM) — $40–$80. Worth every penny.
- Tekton 3/8″ Torque Wrench — Around $50. Accurate and affordable.
- PB Blaster Penetrating Oil — $8. What I use in my own garage.
- OEM Heritage Parts — Budget more upfront, but better fit and resale value.
- ASE-Certified Shop Locator via ASE.com if you need backup.
Do This
- Start with brakes and cooling system
- Buy OEM heritage parts when available
- Document every repair
- Budget 20% extra for surprises
Don’t Do This
- Trust a jack without stands
- Cheap out on safety components
- Ignore recalls or service bulletins
- Blow your budget on wheels first
DIY Difficulty: 🔧 3/5
Money Saved: $3,500–$9,000 depending on project scope
Classic car restoration isn’t about perfection — it’s about bringing history back to life without emptying your bank account. Start smart, use heritage parts programs when possible, and tackle safety systems first. You can absolutely do this. It’ll take patience, busted knuckles, and a few late nights — but that first drive makes it worth it.
Got questions about restoring vintage cars or sourcing Subaru WRX STI parts? Drop them in the comments. Stay safe under there, and remember — a $20 repair manual saves a $2,000 repair bill.