Those blinding bright headlights coming at you on a two-lane road? Yeah, that’s not just annoying — it’s dangerous. I’ve had customers roll into my shop convinced their night vision was shot, when really their retinas were getting flash-fried by poorly aimed LEDs.
Modern LED headlights are sharper, whiter, and way more intense than the old halogens. That’s great when they’re aimed correctly. When they’re not, it’s like someone shining a stadium light in your face at 60 mph.
In this headlight adjustment guide, I’ll show you how to check your aim at home, tweak it properly, and protect your night vision without spending dealer money. We’ll also talk real LED headlights safety and smart night driving tips that actually work.
What You’ll Need
- Tools: Phillips screwdriver or 8mm/10mm socket (varies by vehicle), tape measure, painter’s tape, level surface, wall or garage door
- Parts/Materials: Usually none; replacement bulbs if needed ($25–$150)
- Time: 30 minutes first time, 15 minutes once you’ve done it
- Difficulty: 🔧🔧 (2/5)
- Dealer Cost: $120–$180 aim service vs DIY Cost: $0 — You Save: $120+
Why This Matters (Bright Headlights and Safety)
Misaligned bright headlights don’t just tick people off — they reduce everyone’s reaction time. According to NHTSA, nighttime driving already carries higher fatality rates. Add glare, and it gets worse fast.
Too high? You blind oncoming drivers. Too low? You outrun your own headlights and can’t see that deer until it’s in your grille. I’ve seen fender-benders that started with nothing more than bad headlight aim.
Check your aim anytime you replace bulbs, install LED conversions, lift or lower your suspension, or load the rear heavily (looking at you, overlanding folks with rooftop tents and those beefy tires from our Off Road Tire Guide: Choose BFGoodrich All Terrain). Suspension changes absolutely affect beam height.
Before You Start
⚠️ WARNING: Never adjust headlights with the engine running in an enclosed garage. Exhaust fumes can build up fast. Carbon monoxide is no joke.
Park on a flat surface facing a wall or garage door, 25 feet away. Tires properly inflated. Fuel tank about half full. Remove heavy cargo from the trunk. Set the parking brake.
If your headlight housing is cracked, full of condensation, or you’re seeing warning lights for adaptive systems (common on 2024–2026 models like the 2026 Honda Civic Sport Hybrid), stop. Modern adaptive LED systems may require a scan tool recalibration.
Also, if your vehicle throws leveling system codes, get them scanned. Many parts stores will read codes free, or check ASE for certified techs near you.
Step-by-Step Guide
-
Measure your headlight height. From the ground to the center of your low beam bulb or projector lens. Write it down.
[Photo: Measuring from ground to headlight center with tape measure]
-
Mark the wall. Use painter’s tape to mark the same height on the wall. Then add a second horizontal tape line 2 inches lower. That lower line is your target for the top of the low beam cutoff at 25 feet.
Pro Tip: Most manufacturers spec a slight downward angle. Always consult your owner’s manual for exact measurement.
-
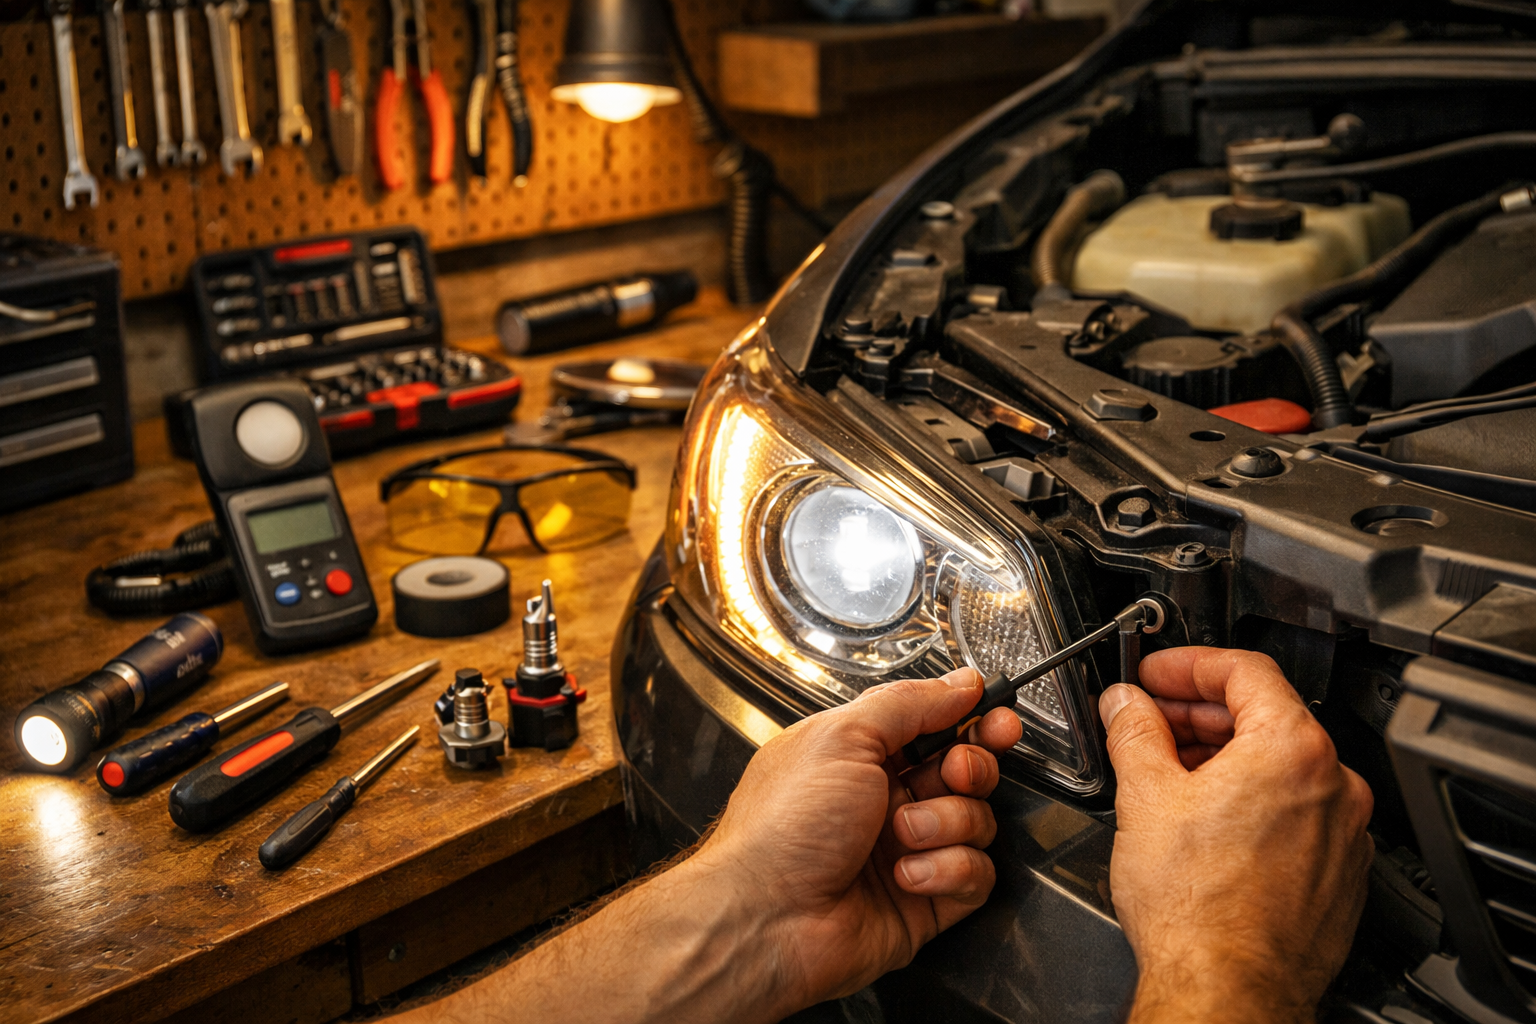
Turn on low beams only. Don’t use high beams. Look for the sharp horizontal cutoff line in projector-style LEDs.
-
Locate the adjustment screw. Usually on top or behind the headlight housing. Often 8mm or Phillips. Don’t grab pliers — you’ll regret it.
-
Adjust vertically first. Turn slowly. Clockwise usually raises, counterclockwise lowers (varies by model). Align the top of the beam cutoff with that lower tape line.
-
Check horizontal aim if adjustable. Not all vehicles allow this. The beam hotspot should sit slightly right of center (for U.S. vehicles).
That’s it. No scan tool. No $150 “inspection fee.” Just careful measuring and patience.
Common Mistakes to Avoid
- Installing cheap LED bulbs in halogen housings. I’ve seen this in the shop a hundred times. Scattershot glare everywhere. Illegal in many states and dangerous.
- Aiming against a sloped driveway. Your “perfect” alignment will be way off on level ground.
- Ignoring suspension sag. Worn rear shocks point your bright headlights skyward like searchlights.
- Touching halogen bulbs with bare fingers. Oil causes hot spots and early failure. Gloves, always.
- Cranking adjusters too hard. Plastic gears strip easily. Then you’re buying a $400 housing.
When to Call a Professional
If your vehicle has adaptive or matrix LEDs (common on higher trims and luxury models), adjustment may require a factory scan tool and calibration board. Fair price? $150–$250 depending on region.
If a shop quotes $400+ for “headlight re-aim,” ask why. Are they replacing broken mounts? Recalibrating sensors? Get specifics.
Red flag: “We can’t adjust these.” Almost all headlights have some adjustment unless physically damaged.
If glare from other drivers is your concern, check for recalls or TSBs at NHTSA Recall Lookup. Some 2023–2025 models have had headlight software updates.
Recommended Products
- Sylvania SilverStar Ultra (Halogen): $45 pair. Good balance of brightness and beam control.
- Philips X-tremeVision: Around $50. What I’ve used in customer cars for years.
- OEM LED assemblies: Expensive ($300–$900 each), but safest for proper beam pattern.
- Yellow-tint night driving glasses: $20–$40. Helps some drivers with glare, but don’t expect miracles.
Skip the $25 no-name LED kits online. In 20 years of wrenching, I’ve seen them melt connectors and blind half the county.
Night Driving Tips to Protect Your Eyes
Keep your windshield clean inside and out. Film and haze amplify glare like a dirty camera lens. Replace wiper blades yearly — $30 well spent.
Dim your dashboard lights slightly. Your pupils adjust better when your interior isn’t glowing like a spaceship.
Look slightly to the right edge of your lane when facing oncoming bright headlights. It reduces direct glare without losing road awareness.
If you’re shopping newer vehicles, pay attention to headlight design in reviews — we talk about real-world visibility in pieces like our 2026 Mazda CX-5 Review.
Do This
- Check headlight aim after bulb or suspension changes
- Use OEM-spec bulbs whenever possible
- Measure at 25 feet on level ground
- Keep lenses clean and clear
Don’t Do This
- Install cheap LED kits in halogen housings
- Aim headlights on a sloped driveway
- Ignore sagging rear suspension
- Pay dealer prices for a 15-minute adjustment
Modern bright headlights aren’t the enemy — bad aim is. Take 30 minutes this weekend, grab a tape measure and a screwdriver, and set them right. Your eyes — and every driver coming the other way — will thank you.
You’ve got this. Drop questions in the comments if your specific model’s giving you trouble. Stay safe under there, and remember — a $20 repair manual saves a $2,000 repair bill.